Note
Access to this page requires authorization. You can try signing in or changing directories.
Access to this page requires authorization. You can try changing directories.
This article describes how to get events from Azure SQL Database Change Data Capture (CDC) into Fabric Real-Time hub.
The Azure SQL Database CDC source connector for Microsoft Fabric event streams allows you to capture a snapshot of the current data in an Azure SQL database. The connector then monitors and records any future row-level changes to this data. Once the changes are captured in the eventstream, you can process this CDC data in real-time and send it to different destinations within Fabric for further processing or analysis.
Note
With DeltaFlow (Preview), you can transform raw Debezium CDC events into analytics-ready streams that mirror your source table structure. DeltaFlow automates schema registration, destination table management, and schema evolution handling. To use DeltaFlow, choose Analytics-ready events & auto-updated schema during the schema handling step.
Prerequisites
- Access to a workspace in the Fabric capacity license mode or the Trial license mode with Contributor or higher permissions.
- A running Azure SQL server with an Azure SQL database.
- Your Azure SQL database should be publicly accessible and not be behind a firewall or secured in a virtual network. If it resides in a protected network, connect to it by using Eventstream connector virtual network injection.
- Enabled CDC in your Azure SQL database by running the stored procedure
sys.sp_cdc_enable_db. For details, see Enable and disable change data capture.
Note
Don't enable mirroring in your Azure SQL database.
Enable CDC in your Azure SQL Database
Go to the Azure portal, open your Azure SQL database, and select Query editor. Choose an authentication method to sign in.

Run the following SQL commands to enable CDC in your database:
-- Enable Database for CDC
EXEC sys.sp_cdc_enable_db;

-- Enable CDC for a table using a gating role option
EXEC sys.sp_cdc_enable_table
    @source_schema = N'dbo',
    @source_name   = N'MyTable',
    @role_name     = NULL
GO

Data sources page
Sign in to Microsoft Fabric.
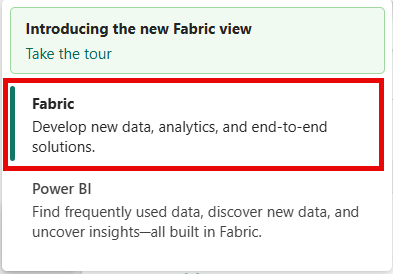
If you see Power BI at the bottom-left of the page, switch to the Fabric workload by selecting Power BI and then by selecting Fabric.
Select Real-Time on the left navigation bar.

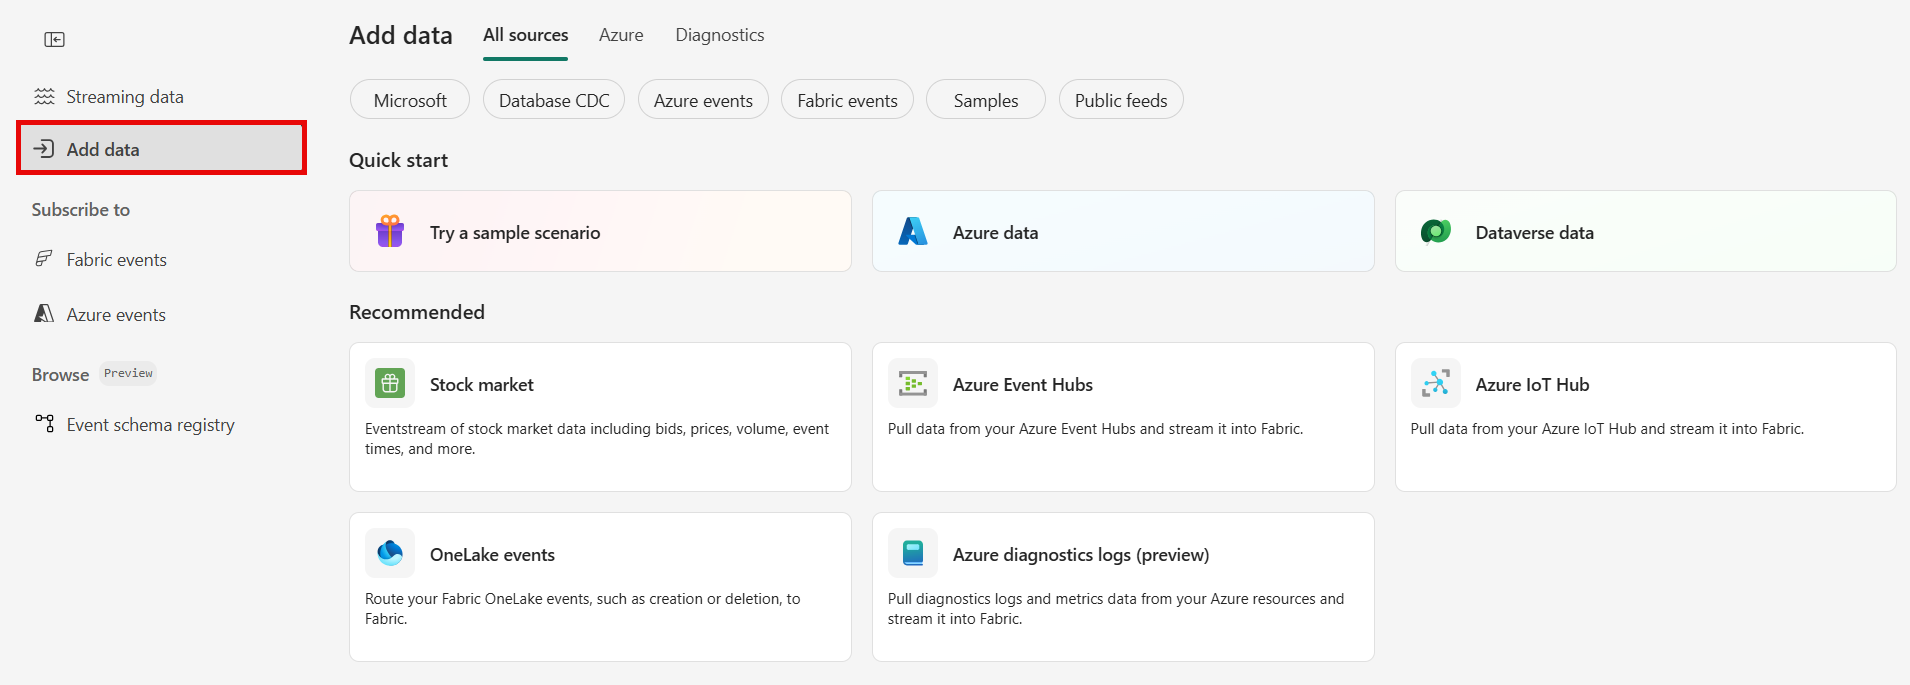
The Streaming data page opens by default. Click on the Add data button to get to the Data sources page.

You can also get to the Data sources page directly by selecting the Add data option in the left navigation bar.


On the Data sources page, select Microsoft sources category at the top, and then select Connect on the Azure SQL DB (CDC) tile.

Use instructions from the Connect to an Azure SQL Database CDC source section.

Connect to an Azure SQL Database CDC source
Ingest change data from Azure SQL databases with automatic table schema registration via CDC into Eventstream.
Note
DeltaFlow (Preview): When you select Analytics-ready events & auto-updated schema in the schema handling step, DeltaFlow transforms raw Debezium CDC events into analytics-ready streams that mirror your source table structure. DeltaFlow also automates destination table creation and schema evolution handling.
On the Connect page, select New connection.

In the Connection settings section, enter the following values for your Azure SQL database:
Server: Enter the Azure SQL server name from the Azure portal. It's in this form:
mysqlservername.database.windows.net.Database: Enter the Azure SQL database name from the Azure portal.

Scroll down, and in the Connection credentials section, follow these steps.
For Connection name, enter a name for the connection.
For Authentication kind, select Basic.
Note
Currently, Fabric Eventstream supports only Basic authentication.
Enter Username and Password for the database.
Select Connect.

Now, on the Connect page, select All tables, or Enter table name(s). If you select the latter, specify tables using a comma-separated list of full table identifiers (
schemaName.tableName) or valid regular expressions. For example:- Use
dbo.test.*to select all tables whose names start withdbo.test. - Use
dbo\.(test1|test2)to selectdbo.test1anddbo.test2.
You can mix both formats using commas. The total character limit for the entire entry is 102,400 characters.
- Use
You can expand Advanced settings to access more configuration options for the Azure SQL Database CDC source:
- Decimal handling mode: Defines how the connector handles
DECIMALandNUMERICcolumn values:Precise: Represents values using exact decimal types (for example, JavaBigDecimal) to ensure full precision and accuracy in data representation.Double: Converts values to double-precision floating-point numbers. This setting improves usability and performance but might result in a loss of precision.String: Encodes values as formatted strings. This setting makes it easy to consume in downstream systems but loses semantic information about the original numeric type.
- Snapshot mode: Specify the criteria for performing a snapshot when the connector starts:
Initial: The connector runs a snapshot only when no offsets have been recorded for the logical server name, or if it detects that an earlier snapshot failed to complete. After the snapshot completes, the connector begins to stream event records for subsequent database changes.InitialOnly: The connector runs a snapshot only when no offsets have been recorded for the logical server name. After the snapshot completes, the connector stops. It doesn't transition to streaming to read change events from the binlog.NoData: The connector runs a snapshot that captures only the schema, but not any table data. Set this option if you don't need a consistent snapshot of the data, but you need only the changes happening since the connector starts.
- Column exclude list: Specifies columns to exclude from change event values using fully qualified names (schemaName.tableName.columnName).
- Database applicationIntent: Determines the routing behavior in SQL Server Always On availability groups:
ReadWrite: Connects to the primary replica. Use this option if the connection needs to perform both read and write operations.ReadOnly: Allows routing to a readable secondary replica for read-only operations. Use it to enable CDC directly on replicas. It requires to set snapshot.isolation.mode to snapshot, which is the only one transaction isolation mode supported for read-only replicas.
- Snapshot select statement override: Use the property if you want a snapshot to include only a subset of the rows in a table. This property affects snapshots only. It doesn't apply to events that the connector reads from the log.
- Decimal handling mode: Defines how the connector handles

Stream or source details
On the Connect page, follow one of these steps based on whether you're using Eventstream or Real-Time hub.
Eventstream:
In the Source details pane to the right, follow these steps:
For Source name, select the Pencil button to change the name.
Notice that Eventstream name and Stream name are read-only.
Real-Time hub:
In the Stream details section to the right, follow these steps:
Select the Fabric workspace where you want to create the eventstream.
For Eventstream name, select the Pencil button, and enter a name for the eventstream.
The Stream name value is automatically generated for you by appending -stream to the name of the eventstream. This stream appears on the real-time hub's All data streams page when the wizard finishes.
Select Next at the bottom of the Configure page.
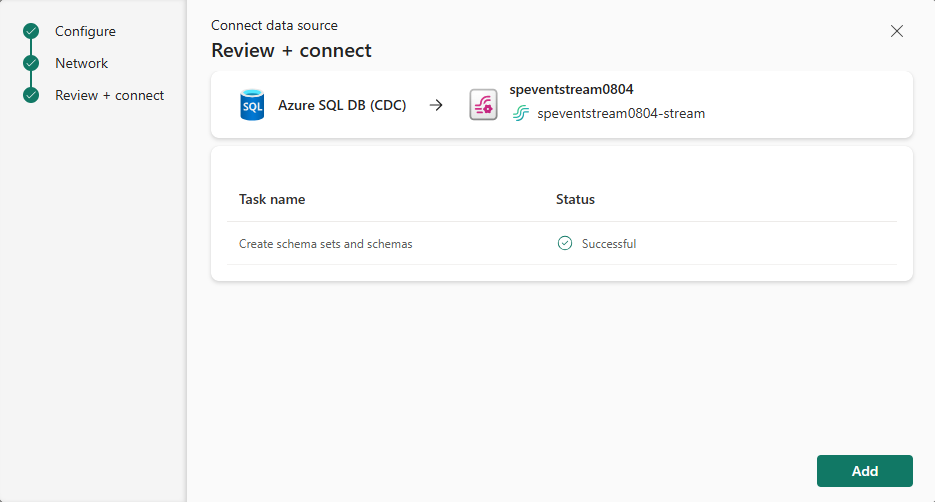
Review and connect
On the Review + connect screen, review the summary, and select Add (Eventstream) or Connect (Real-Time hub).
Schema handling page
In the Schema handling page, choose one of the following options:
- Analytics-ready events & auto-updated schema (DeltaFlow Preview): The connector transforms raw CDC events into analytics-ready streams that mirror your source table structure. DeltaFlow enriches events with metadata such as change type (insert, update, or delete) and timestamps, and automatically manages destination tables and schema evolution.
- Raw CDC events: The connector ingests and makes available the raw CDC events. Optionally, the connector can autodiscover table schemas and register them in the schema registry. Use this option when you want schema awareness without DeltaFlow transformation.
Note
The following screenshot shows Azure SQL Database CDC. The schema handling options are the same for all supported CDC source connectors.
Enable event schema association.
For Workspace, select a Fabric workspace for the schema set.
For Schema set, + Create is selected by default, which creates a new schema set. You can change it to select an existing event schema set.
If you selected the + Create option in the previous step, enter a name for the schema set.
On the Review + connect page, select Add (Eventstream) or Connect (Real-Time hub).
For all tables or selected tables in the Azure SQL database, the connector autodiscovers and creates schemas, and registers them with the schema registry.
Select the eventstream node in the middle, and switch to the Associated schemas tab in the bottom pane.
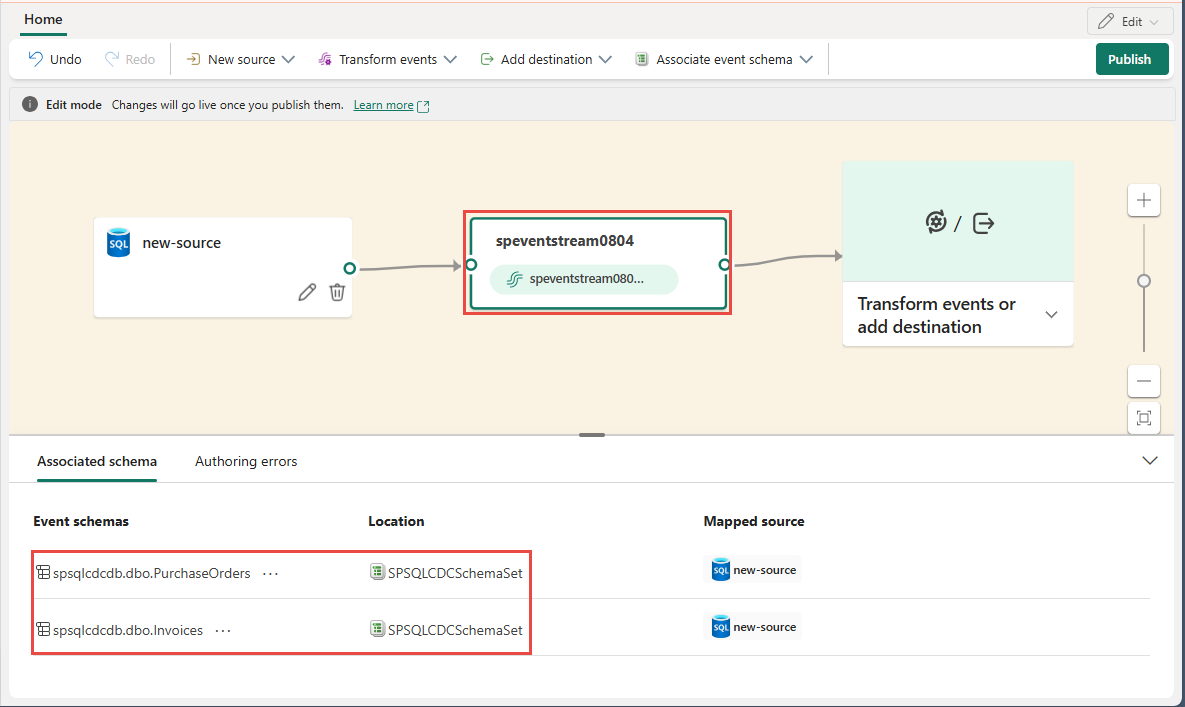


Schema set
Navigate to the workspace you selected in the previous step. In the following example, it's My workspace.
Select the schema set that the Azure SQL Database (CDC) connector created.

You see the schemas in the schema set as shown in the following image.
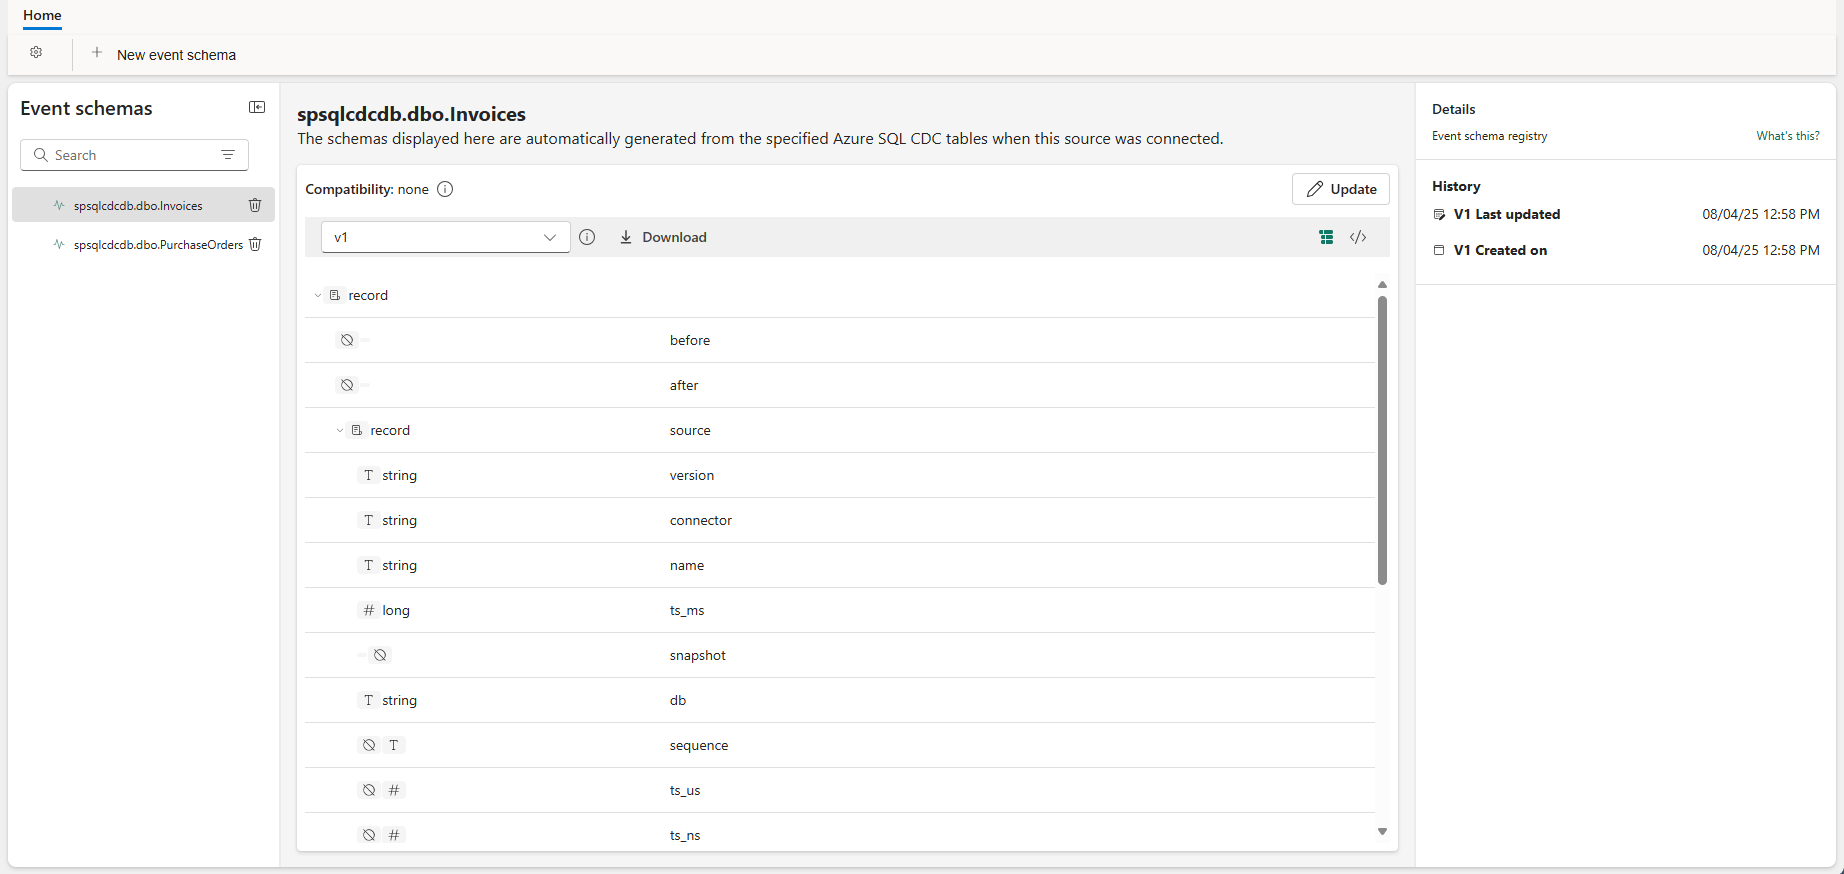
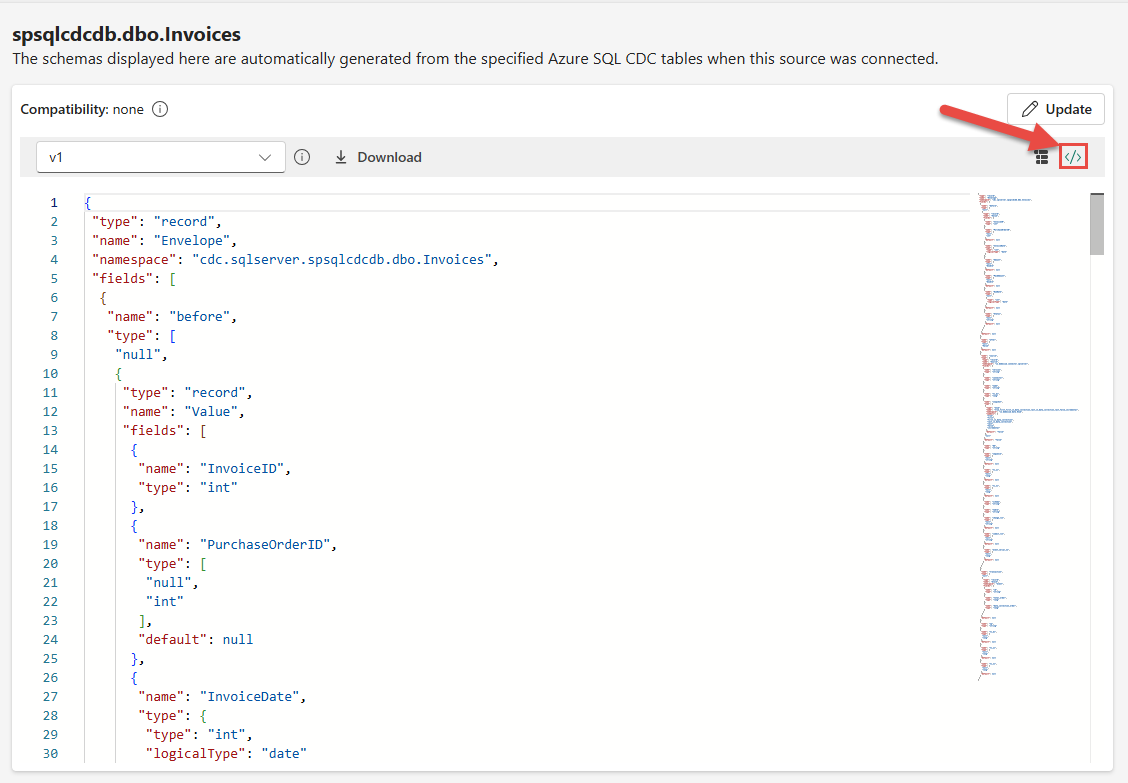
To see the JSON version of the schema, switch to the JSON schema view.
Don't change these discovered schemas using this editor as it becomes nonconfirmant with the schema of tables in the Azure SQL database source.


DeltaFlow: Analytics-ready event transformation (Preview)
When you enable Analytics-ready events & auto-updated schema (DeltaFlow), the connector provides the following capabilities:
Analytics-ready event shape: Raw Debezium CDC events are transformed into a tabular format that mirrors the source table structure. Events are enriched with metadata columns including the change type (
insert,update, ordelete) and the event timestamp.Automatic destination table management: When you route DeltaFlow-enabled streams to a supported destination like an eventhouse, destination tables are automatically created to match the source table schema. You don't need to manually create or configure destination tables.
Schema evolution handling: When source database tables change (for example, new columns are added or tables are created), DeltaFlow automatically detects the changes, updates the registered schemas, and adjusts the destination tables accordingly. This option minimizes manual intervention caused by schema changes.


Note
DeltaFlow (Preview) is currently supported with Azure SQL Database CDC, Azure SQL Managed Instance CDC, SQL Server on VM CDC, and PostgreSQL CDC source connectors.
For details on how DeltaFlow transforms raw CDC events into analytics-ready output, including operation types and metadata columns, see DeltaFlow output transformation.
View data stream details
On the Review + connect page, if you select Open eventstream, the wizard opens the eventstream that it created for you with the selected Azure SQL Database CDC as a source. To close the wizard, select Finish at the bottom of the page.
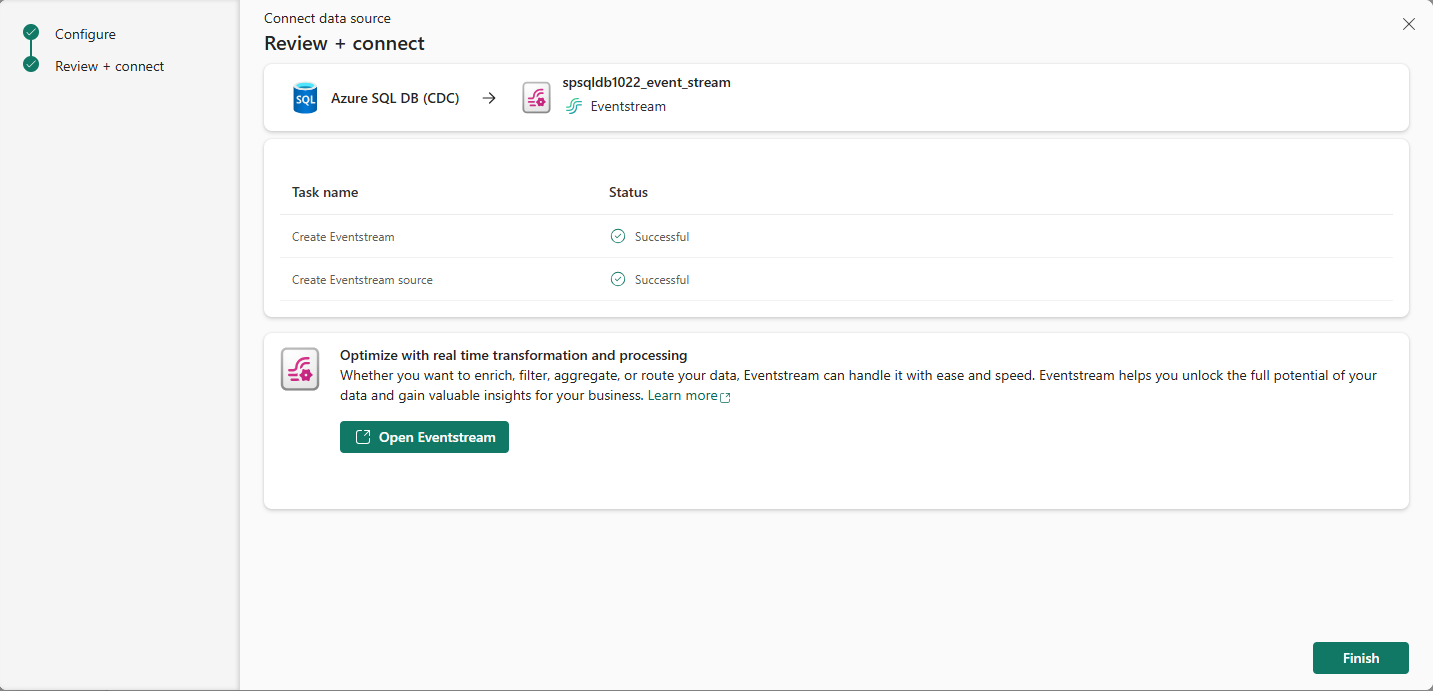
You should see the stream in the Recent streaming data section of the Real-Time hub home page. For detailed steps, see View details of data streams in Fabric Real-Time hub.

Related content
To learn about consuming data streams, see the following articles: