Note
Access to this page requires authorization. You can try signing in or changing directories.
Access to this page requires authorization. You can try changing directories.
This article describes how to get events from an Azure IoT hub into Real-Time hub.
Prerequisites
- Access to a workspace in the Fabric capacity license mode or trial license mode with Contributor or higher permissions.
- Appropriate permission to get your IoT hub's access keys. If your IoT hub is within a protected network, connect to it by using a managed private endpoint. Otherwise, ensure that the IoT hub is publicly accessible and not behind a firewall.
Data sources page
Sign in to Microsoft Fabric.
If you see Power BI at the bottom-left of the page, switch to the Fabric workload by selecting Power BI and then by selecting Fabric.
Select Real-Time on the left navigation bar.

The Streaming data page opens by default. Click on the Add data button to get to the Data sources page.

You can also get to the Data sources page directly by selecting the Add data option in the left navigation bar.
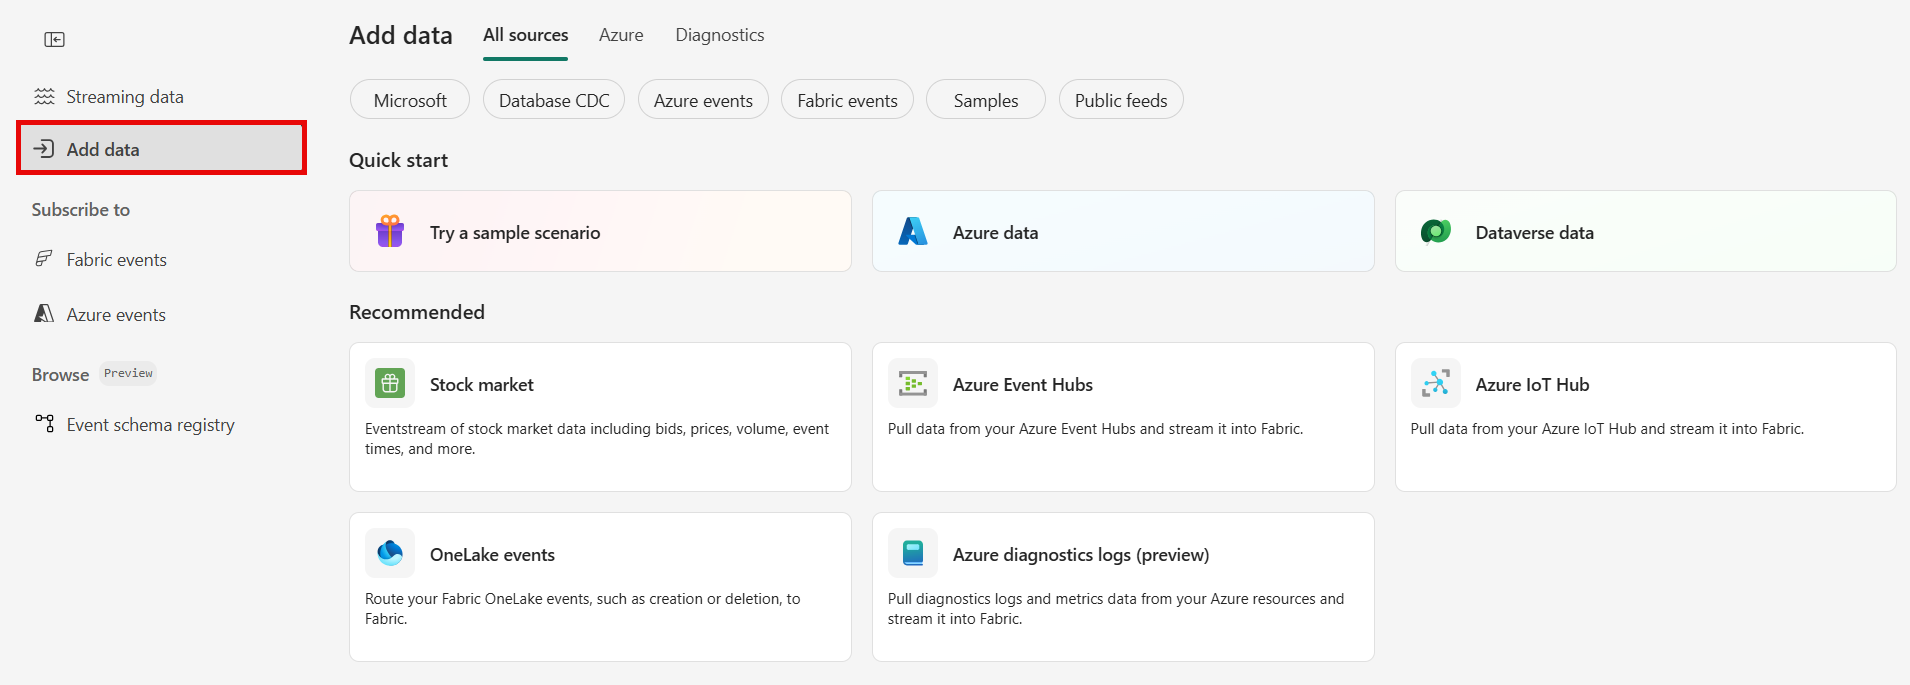


Select Azure IoT Hub as a source
On the Data sources page, select Microsoft sources category at the top, and then select Connect on the Azure IoT Hub tile.

Now, follow instructions from the Connect to an Azure iot hub section.
Connect to an Azure iot hub
On the Connect page, select New connection.

If there's an existing connection to your IoT hub, select that existing connection, and then move on to configuring Data format in the following steps.

In the Connection settings section, for IoT Hub, specify the name of your IoT hub.

In the Connection credentials section, follow these steps:
If there's an existing connection, select it from the dropdown list. If not, confirm that Create new connection is selected for this option.
For Connection name, enter a name for the connection to the IoT hub.
For Authentication kind, confirm that Shared Access Key is selected.
For Shared Access Key Name, enter the name of the shared access key.
For Shared Access Key, enter the value of the shared access key.
To get the name and value of the shared access key, follow these steps:
- Go to the page for your IoT hub in the Azure portal.
- On the left pane, under Security settings, select Shared access policies.
- Select a policy name from the list. Note down the policy name.
- Select the copy button next to the Primary key.

Select Connect.

For Consumer group, enter the name of the consumer group. The default consumer group for the IoT hub is $Default.
For Data format, select a data format for the incoming real-time events that you want to get from your IoT hub. You can select from JSON, Avro, and CSV data formats. Then select Connect.


Stream or source details
On the Connect page, follow one of these steps based on whether you're using Eventstream or Real-Time hub.
Eventstream:
In the Source details pane to the right, follow these steps:
For Source name, select the Pencil button to change the name.
Notice that Eventstream name and Stream name are read-only.
Real-Time hub:
In the Stream details section to the right, follow these steps:
Select the Fabric workspace where you want to create the eventstream.
For Eventstream name, select the Pencil button, and enter a name for the eventstream.
The Stream name value is automatically generated for you by appending -stream to the name of the eventstream. This stream appears on the real-time hub's All data streams page when the wizard finishes.
Select Next at the bottom of the Configure page.
Review and connect
On the Review + connect screen, review the summary, and select Add (Eventstream) or Connect (Real-Time hub).
View data stream details
On the Review + connect page, if you select Open eventstream, the wizard opens the eventstream with the selected Azure IoT hub as a source. To close the wizard, select Finish at the bottom of the page.

You should see the stream in the Recent streaming data section of the Real-Time hub home page. For detailed steps, see View details of data streams in Fabric Real-Time hub.

Related content
To learn about consuming data streams, see the following articles: