Note
Access to this page requires authorization. You can try signing in or changing directories.
Access to this page requires authorization. You can try changing directories.
Important
Starting February 2026, new customers can't create projects in Microsoft Dynamics Lifecycle Services for Microsoft Dynamics 365 Finance, Microsoft Dynamics 365 Human Resources, Microsoft Dynamics 365 Supply Chain Management, and Microsoft Dynamics 365 Project Operations. New customers should use the Power Platform admin center instead. For more information, see Lifecycle Services project creation freeze.
Applies To: Project Operations Integrated with ERP
This article provides information about how to provision a new Dynamics 365 Project Operations environment for Project Operations Integrated with ERP based scenarios.
Enable Project Operations automated provisioning in an Lifecycle Services project
Use following steps to enable the Project Operations automated provisioning flow for your Lifecycle Services project.
Go to Lifecycle Services and select the Preview Feature management tile.
In the Preview feature list, select Project Operations Feature, and then select Preview feature enabled to enable Project Operations.
Note
This step is performed only one time per Lifecycle Services project.
Provision a Project Operations environment
Open a new Dynamics 365 Finance demo environment or sandbox/ production environment deployment.
Walk through the Environment provisioning wizard.
Important
Make sure selected application version is 10.0.13 or higher.
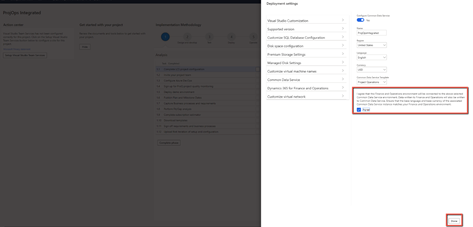
To provision Project Operations, under Advance settings, select Common Data Service.
Enable the Common Data Service Setting by selecting Yes and then enter information in the required fields:
- Name
- Region
- Language
- Currency
In the Common Data Service Template field, select Project Operations
Select the environment type for your deployment. A subscription-based trial will let you deploy a CDS environment for 30 days.

Important
Select Agree to acknowledge the terms of service and then select Done to return to the deployment settings.
Optional - Apply demo data to the environment. Go to Advanced settings, select Customize SQL Database Configuration, and set Specify a dataset for Application database to Demo.
Complete the remaining required fields in the wizard and confirm the deployment. The time to provision the environment varies based on the environment type. Provisioning might take up to six hours.
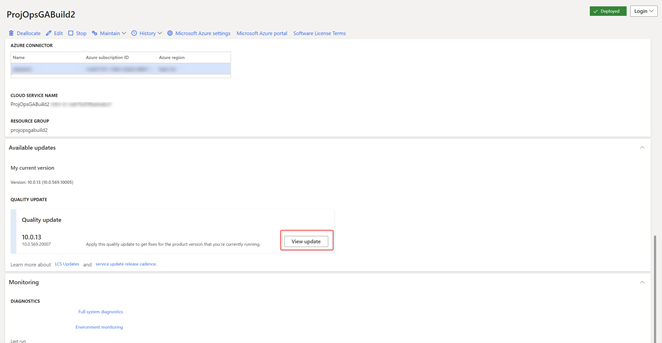
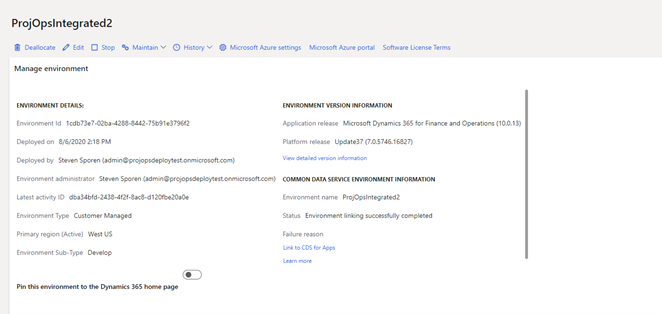
After the deployment completes successfully, the environment will show as Deployed.
To confirm that the environment has deployed successfully, select Login and log on to the environment to confirm.

Apply updates to the Finance environment
Project Operations requires a Finance environment with application version 10.0.13 (10.0.569.20009) or higher.
You might need to apply quality updates to your Finance environment to receive this version.
In Lifecycle Services, on the Environment details page, in the Available Updates section, select View Update.
On the Binary updates page, select Save package.

Select Select all and then select Save package.

Enter a name and a description of the package, and then select Save. Depending on the internet connection, this process might take some time.

After the package is saved, select Done and save this package to the Assets library in your Lifecycle Services project.
Saving and validating the package might take ~15 minutes.
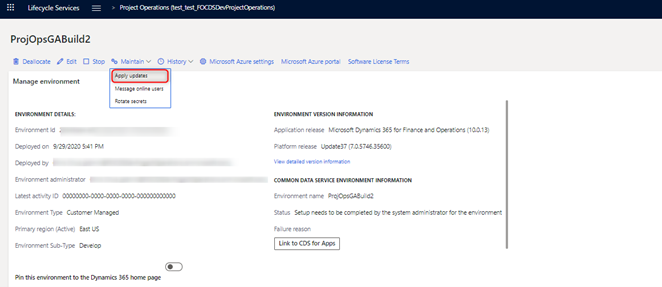
To apply the update, navigate to the Environment details page in Lifecycle Services and select Maintain > Apply updates.
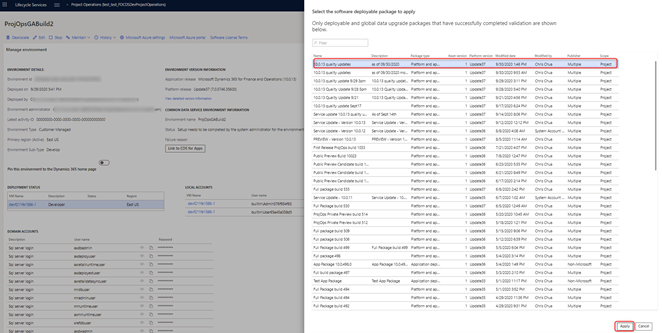
In the updates list select the package you created, and select Apply.
Environment servicing will take some time. After it is complete, the environment will return to a deployed state.

Establish a Dual Write connection
In your Lifecycle Services project, go to the Environment details page.
Under Common Data Service Environment Information, select Link to CDS for Apps.
After the link is complete, select Link to CDS for Apps again. You will be redirected to Dual Write in Finance.
Select Apply Solution to access the entities that will be mapped in the integration.
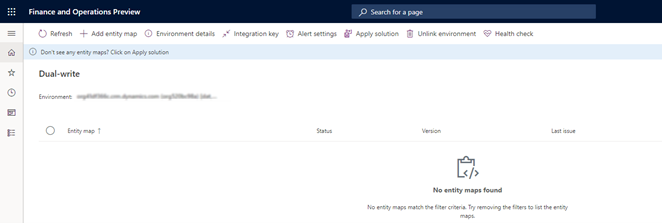
Select both solutions, Dynamics 365 Finance Dual Write Entity Map and Dynamics 365 Project Operations Dual Write Entity Maps, and then select Apply.

After the solutions are applied, the Dual Write entities are applied to the environment.
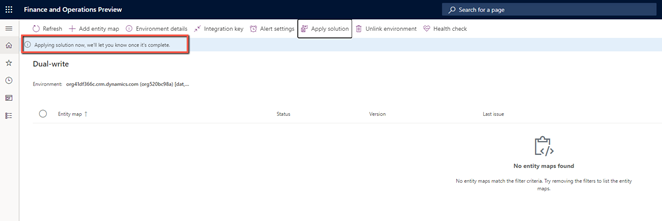
After the entities are applied, all available mappings are listed in the environment.

Refresh the data entities after the update
In Finance, go to the Data management workspace.

Select the Framework parameters tile.
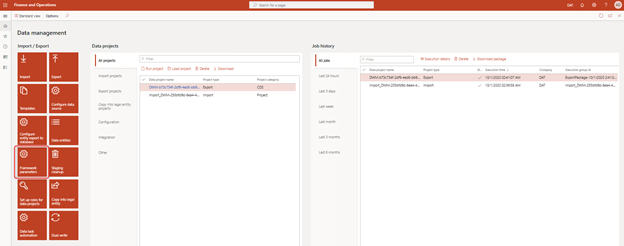
On the Entity settings page, select Refresh Entity list.

The refresh is going to take approximately 20 minutes. You will receive an alert when it is complete.

Update security settings on Project Operations on Dataverse
Go to Project Operations on your Dataverse environment.
Go to Settings > Security > Security roles.
On the Security roles page, in the list of roles, select dual-write app user and select the Custom Entities tab.
Verify that the role has Read and Append To permissions for the following entities:
- Currency Exchange Rate Type
- Chart Of Accounts
- Fiscal Calendar
- Ledger
- Company
- Expense
After the security role is updated, go to Settings > Security > Teams, and select the default team in the Local Business Owner team view.
Select Manage Roles and verify that the dual-write app user security privilege is applied to this team.
Run Project Operations Dual Write maps
In your Lifecycle Services project, go to the Environment details page.
Under Common Data Service Environment Information, select Link to CDS for Apps. After you select the link, you will be redirected to the list of entities in the mappings.
Start the maps. For more information, see Project Operations dual-write map versions
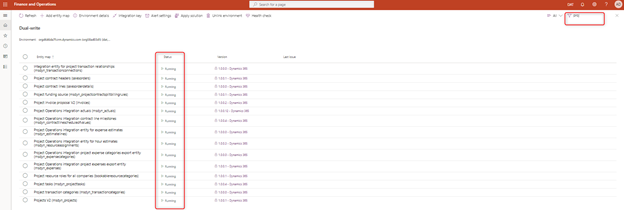
Validate all project related maps are in the running state.
Apply configuration data in CDS for Project Operations (optional)
If you have applied demo data to the Finance environment, see Set up and apply configuration data in the Common Data Service for Project Operations to apply demo data to CDS environment.
Your Project Operations environment is now provisioned and configured.